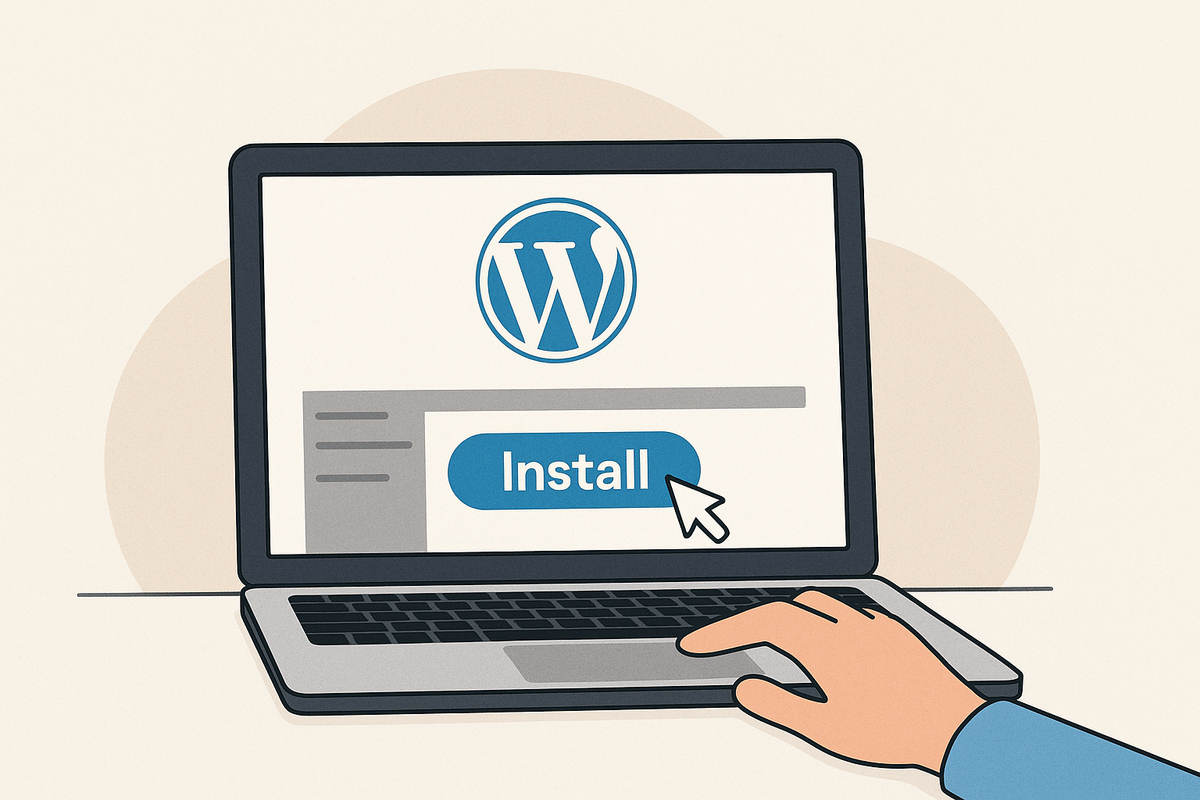
Step-by-Step: Installing WordPress with 1-Click

There’s something exciting about starting a new website. You’ve got your domain name ready, you’ve signed up for hosting, and you’re itching to finally see your idea take shape. But then you hit the first big step: installing WordPress.
If you’re new, the word install might sound scary. You might imagine coding, command lines, and endless configurations. But here’s the truth: installing WordPress today is one of the easiest steps in the whole process. Thanks to modern hosting providers, it’s literally a matter of clicking a button.
Let’s walk through what it looks like in real life — step by step, no jargon, no stress.
Why WordPress in the First Place?
Before we dive into the “how,” let’s quickly talk about the “why.”
WordPress is the world’s most popular website builder, powering more than 40% of all websites online. Bloggers use it, businesses rely on it, and even big media companies trust it. The reason is simple: it’s flexible, beginner-friendly, and endlessly customizable.
Whether you want a blog, an online store, or a portfolio, WordPress has the tools to make it happen. And with one-click installs, you don’t need to be a developer to start.
Step 1: Log Into Your Hosting Dashboard
Once you sign up with a hosting provider — let’s say Bluehost, Hostinger, or SiteGround — you’ll have access to a dashboard. Think of it as the control panel for your website.
This dashboard is where you manage everything: your files, your domain, your email accounts, and yes, your WordPress installation.
Look for something labeled “WordPress” or “Website Installer”. Hosting companies know this is the first thing most customers want, so they usually make it very obvious.
Step 2: Click Install
Here’s the magic part. You’ll see a button that literally says “Install WordPress” or something very close. Click it.
The system will ask for a few basic details:
- Which domain you want to install WordPress on.
- A username and password for your WordPress admin account.
- Sometimes, an email address for recovery and notifications.
That’s it. No coding, no file transfers, no complicated setups. You’re just filling out a short form.
Once you confirm, the hosting system goes to work in the background.
Step 3: Wait a Few Moments
This part almost feels anticlimactic. You click “Install,” and in a minute or two, WordPress is ready to go.
Behind the scenes, your host sets up the database, connects everything, and configures your files. But you don’t see any of that. You just get a success message that says something like:
“WordPress has been successfully installed at yourdomain.com.”
That’s when it hits you: your website is officially alive.
Step 4: Log Into WordPress
Once installed, you’ll be given a link to your WordPress dashboard, usually something like:
yourdomain.com/wp-admin
This is the door to your website. Type it into your browser, enter the username and password you just created, and suddenly you’re inside your brand-new WordPress site.
The dashboard might look a little overwhelming at first — menus, options, widgets — but don’t worry. You don’t have to understand it all on day one. What matters is that your site is live, and you’re in control.
Step 5: Start Customizing
At this point, WordPress is installed and working. Now the fun begins.
You can:
- Pick a theme to decide your blog’s design.
- Write your first post.
- Add an “About” page to introduce yourself.
- Explore plugins to add extra features.
Everything happens through clicks, not code. That’s the beauty of WordPress.
Why This Step Is So Important
Installing WordPress is more than just a technical detail — it’s the moment of transformation. Before this, your website is just a domain and some hosting space. After this, it’s a living project you can shape and grow.
And the fact that it only takes a click makes it even more empowering. Something that used to be a barrier for beginners is now the simplest part of the journey.
So there you have it: installing WordPress with 1-click isn’t just possible, it’s the norm in 2025.
- Log into your hosting dashboard.
- Find the WordPress installer.
- Enter a few details.
- Click install.
- Log in and start creating.
That’s all it takes to turn your idea into a working website.
The next steps — designing, writing, sharing — will take time and creativity. But crossing this first milestone shows you something important: building a website is easier than you thought. And once you’ve done it once, you’ll never be afraid of the “technical” side again.