How to Set Up Free SSL on Your Website
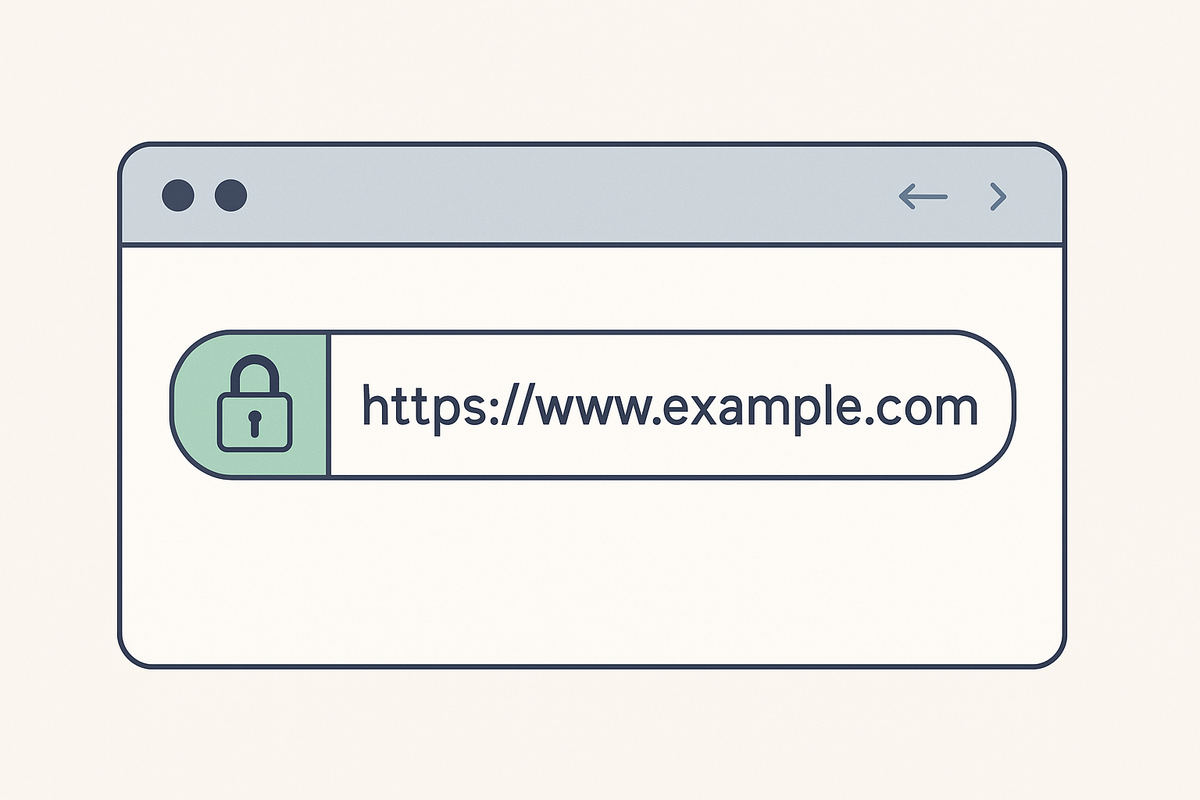
If you’ve ever typed a website into your browser and noticed a little padlock symbol next to the address, you’ve already seen SSL in action. That lock means the site is secure — and in today’s internet, it’s no longer optional.
The good news? Getting SSL (Secure Sockets Layer) on your website doesn’t have to cost you a dime. Thanks to initiatives like Let’s Encrypt, most hosting providers now include it for free, and setting it up takes only a few minutes.
If you’re new to this, don’t worry. Let’s walk through what SSL actually does, why it matters, and how you can set it up on your own site without pulling your hair out.
What SSL Actually Does
In simple terms, SSL encrypts the connection between your visitors and your website. Without it, any data people send (like passwords, emails, or credit card details) can potentially be intercepted.
Think of it like sending a postcard versus putting your message in a sealed envelope. Without SSL, anyone along the delivery chain could read what’s written. With SSL, it’s private and secure.
That’s why browsers like Chrome now warn users if they try to visit a site without SSL. Nobody wants to see “Not Secure” at the top of their screen — and you definitely don’t want visitors associating that with your brand.
Why It Matters for Every Website
It’s easy to assume SSL is only important for online stores or banks. But the truth is, it matters for every website.
- Trust: Visitors are more likely to stay if they see the padlock.
- SEO: Google gives preference to secure sites, so SSL can actually help your rankings.
- Conversions: Even on a simple blog, readers are more likely to subscribe or share information if the site feels safe.
So whether you’re running a small personal blog or a full e-commerce store, SSL is one of the easiest and most important upgrades you can make.
Step 1: Check If Your Host Offers Free SSL
Most modern hosting providers (like Bluehost, Hostinger, or SiteGround) include free SSL certificates as part of their plans. In fact, many will install it automatically when you launch your site.
Log into your hosting dashboard and look for something labeled “SSL,” “Security,” or “Certificates.” If it’s included, you’ll usually just need to enable it with a toggle or button.
If your host doesn’t include it (rare these days), you can still get one from Let’s Encrypt, a non-profit that provides free certificates. Some registrars also integrate directly with Let’s Encrypt, making it easy to install.
Step 2: Enable the Certificate
In your hosting control panel, click the option to enable or install SSL for your domain. In many cases, it’s literally one click. The system will generate the certificate and apply it to your site.
Behind the scenes, this certificate confirms that your domain is authentic and ensures all traffic is encrypted. But you don’t need to worry about the technical details — your host handles that for you.
Step 3: Redirect to HTTPS
Once SSL is active, your site will load using https:// instead of http://. The “s” is what gives you the padlock.
Most hosts automatically set this up, but if they don’t, you can install a simple WordPress plugin like Really Simple SSL, which forces all visitors to use the secure version of your site.
This step makes sure no one accidentally visits the non-secure version.
Step 4: Verify It Works
The easiest way to check? Open your website in a browser and look for the padlock icon next to your URL. Click it, and you should see a message confirming that your connection is secure.
If you don’t see the padlock, it usually means something on your site (like an image or script) is still being loaded through the non-secure version. Again, plugins like Really Simple SSL can help fix that quickly.
Why This Step Is a Game-Changer
SSL is one of those upgrades that seems small but has a huge impact. In less than 10 minutes, you go from having a site that feels risky to one that inspires confidence. Visitors stay longer, Google treats you better, and you know that sensitive data is protected.
And the best part? It’s free. What used to be a paid add-on is now considered standard, and hosting companies make it easier than ever to set up.
Adding SSL to your website isn’t just about following best practices — it’s about showing your visitors you take their trust seriously.
- Log into your hosting dashboard.
- Enable the free SSL certificate.
- Redirect all traffic to HTTPS.
- Confirm the padlock is there.
That’s it. In just a few minutes, you’ve made your website safer, stronger, and more professional.
So if you’ve been putting it off, today’s the day. Head into your dashboard, click that button, and give your visitors the peace of mind they deserve.