How to Connect a Domain to Your Hosting Provider
So you’ve bought a domain name — maybe something you’ve been dreaming about for weeks — and you’ve signed up with a hosting provider. You feel like you’re halfway to having a real website. But then the question hits: how do I actually connect the two?
This is one of those moments where beginners get nervous. You picture endless settings, cryptic codes, and the fear that if you click the wrong thing, you’ll break everything. The reality is much simpler. Connecting a domain to your hosting provider is like giving someone directions: “Hey, when people type my domain, send them over to my host’s servers.” That’s it.
Let’s walk through what this process looks like in plain English, so you can do it yourself without stress.
Understanding the Basics
A domain is your website’s address (like mywebsite.com).
Hosting is the place where your website’s files live.
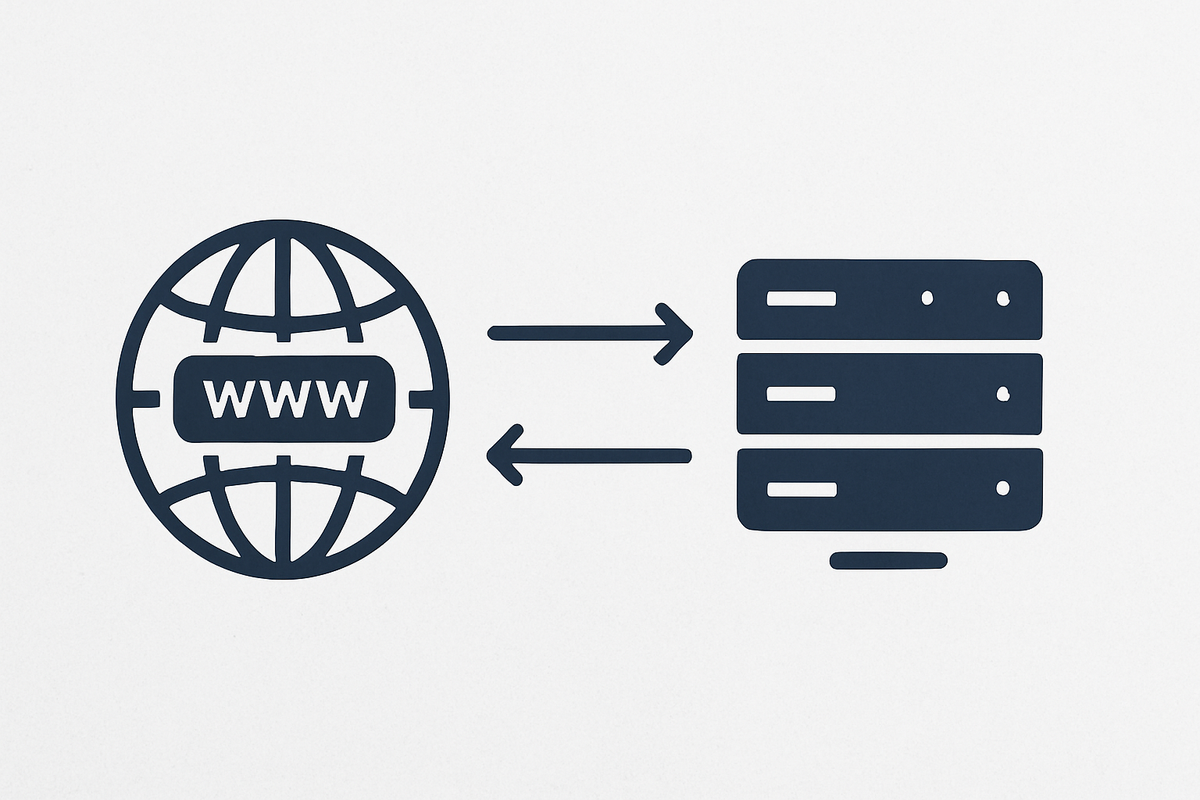
When someone types your domain into a browser, the internet needs to know which hosting provider to contact in order to load your site. This connection is handled through something called DNS records (Domain Name System). Think of DNS as the phone book of the internet: it matches your domain name to the “phone number” (IP address) of your hosting server.
So when you connect your domain to your hosting, you’re basically updating that phone book to say, “this domain belongs here.”
Step 1: Find Your Host’s DNS Information
After signing up for hosting, your provider gives you nameservers or DNS details. They usually look like this:
ns1.hostingcompany.comns2.hostingcompany.com
These are unique to your host and tell the world, “This is where your website lives.” You’ll often find them in your welcome email or inside your hosting dashboard.
Step 2: Log Into Your Domain Registrar
Your domain registrar is the company where you purchased your domain (like Namecheap, GoDaddy, or Google Domains). This is different from your hosting provider, unless you bought your domain and hosting together.
Once you log in, you’ll see your domain listed in your account. Click on it, and you’ll find an option to manage DNS settings or set nameservers.
Step 3: Update the Nameservers
This is the moment where the magic happens. In your registrar’s DNS settings, you’ll see an option to replace the default nameservers with the ones provided by your hosting company.
Simply copy and paste them in, save the changes, and you’re done.
From now on, whenever someone types your domain, the internet knows to send them to your host’s server.
Step 4: Wait for Propagation
Here’s the part no one loves: waiting. DNS changes don’t happen instantly. It can take anywhere from a few minutes to 24–48 hours for the changes to fully update across the entire internet.
During this time, some people may see your site at the new host, while others may not. Don’t panic — this is completely normal. Once the dust settles, everyone will be directed to the right place.
Step 5: Test Your Connection
After a few hours, type your domain into a browser. If everything worked, you should see your website’s default hosting page or WordPress installation screen. That’s your confirmation that the connection is live.
If it doesn’t work after 24–48 hours, double-check that you entered the nameservers correctly, and reach out to your host’s support team. They deal with this all the time and can usually point out any small mistakes.
Why This Step Matters
It might feel like a technical formality, but this step is what transforms your idea into a real, visitable site. Before connecting your domain, your website is just floating in space — no one can find it. After connecting it, your domain becomes a front door, leading visitors straight to your content.
It’s also empowering. Once you’ve done this, you realize building a website isn’t nearly as scary as it seems. It’s just a series of small steps like this, one after the other.
Connecting a domain to your hosting provider is one of those tasks that seems daunting until you actually do it. In reality, it’s just three steps: grab your host’s DNS info, paste it into your registrar’s settings, and wait for the changes to spread.
The first time you do it, it might feel like magic — you type your domain, and suddenly your very own website appears. That’s the moment when your project stops being an idea and becomes something the world can actually visit.
So if you’ve been hesitating, take ten minutes today, follow the steps, and connect your domain. In just a day or two, you’ll have a working website that’s officially yours.