How to Backup Your Website Easily
If you’ve ever lost an important file on your computer, you know the sinking feeling. Maybe it was an essay, a photo album, or a project you worked on for weeks. Now imagine that happening to your website — the blog posts, the design, the comments, the shop you set up. Poof. Gone in seconds.
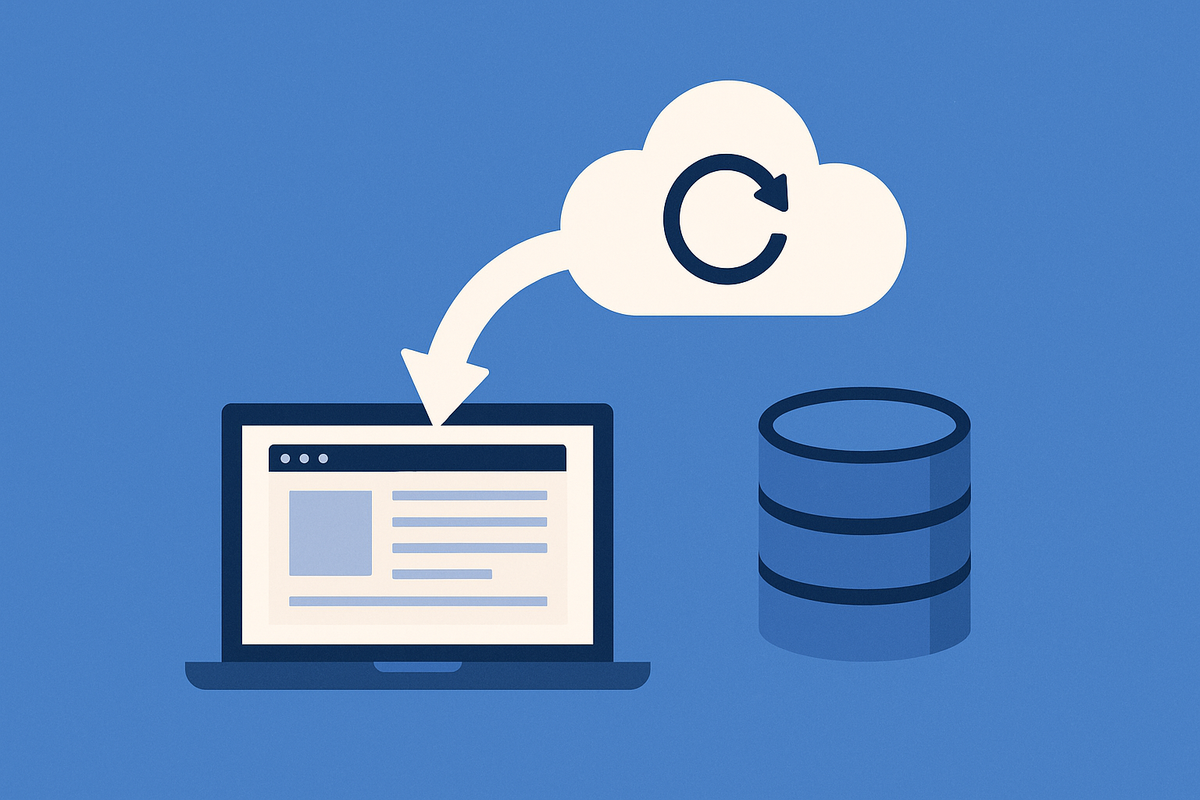
It’s a scary thought, but it’s one you don’t need to live with. The solution is simple: backups. Just like you’d save an important document to the cloud or an external drive, you can do the same for your entire website. And the best part? With modern tools, it’s much easier than you think.
Let’s talk about why backups matter, what your options are, and how you can set them up without needing to be “techy.”
Why Backups Matter
Websites can break. It happens more often than people think.
- Maybe you install a plugin and it conflicts with your theme.
- Maybe a hacker sneaks in and changes things.
- Maybe your hosting provider has an issue.
- Or maybe you accidentally delete something important.
Whatever the cause, without a backup, you’re stuck trying to rebuild from scratch. With a backup, you just roll back the clock. In a few clicks, your site is exactly how it was before the problem.
It’s peace of mind, plain and simple.
Option 1: Let Your Hosting Handle It
Many hosting providers already include backups in their plans. Companies like SiteGround, Bluehost, and Kinsta automatically take daily snapshots of your site and keep them stored for a set period (usually 7–30 days).
If something goes wrong, you log into your hosting dashboard, pick a date, and hit restore. Just like that, your site is back.
The advantage here is convenience — you don’t need to do anything extra. The downside is that if you ever switch hosts or if your hosting account itself is compromised, you might lose those backups. That’s why many people like to keep a second option.
Option 2: Use a WordPress Plugin
If your site runs on WordPress (and most do), plugins make backups ridiculously easy. Popular options include UpdraftPlus, BackupBuddy, and Jetpack.
Here’s how it usually works:
- Install the plugin.
- Connect it to cloud storage like Google Drive, Dropbox, or Amazon S3.
- Set a schedule (daily, weekly, or monthly backups).
- Relax.
The plugin automatically copies your site and saves it somewhere safe. If disaster strikes, you restore from that saved file.
This option gives you more control, since you can keep your backups outside your host. Even if your server disappears, your files are safe in the cloud.
Option 3: Do It Manually (For the Control Freaks)
If you like having total control, you can manually download your site’s files and database through your hosting panel. It’s more technical and less convenient, but it ensures you always have a copy on your own computer.
The risk is that you might forget to do it regularly. Backups are only useful if they’re up to date.
Best Practice: Double Up
The smartest approach is to combine methods. Let your host create automatic daily backups (so you’re always protected), and use a plugin to create your own copies stored off-site. That way, you’re covered from every angle.
It’s like saving your photos to both your phone and the cloud — one backup is good, two is better.
Backing up your website isn’t glamorous. It’s not as exciting as designing a new page or publishing a blog post. But it’s one of those quiet, essential habits that can save you from disaster.
Think of it like insurance: you hope you never need it, but when the unexpected happens, you’ll be so grateful you took a few minutes to set it up.
So don’t wait for a scare. Log into your hosting dashboard, install a backup plugin, or do both. In less than 15 minutes, you can give yourself the gift of peace of mind — knowing your hard work is safe, no matter what happens.